One of the most common doubts when we are starting to make a garment is whether we really cut the fabric correctly.
But before you learn how to cut the fabric, you should keep some tips in mind before cutting it.
- Wash it beforehand: this will prevent the garment from fading or shrinking.
- Gentle ironing: the patterns will be better placed and the cuts will be more exact.
- Observe the fabric: identify its right side and its wrong side. It is important that you know the direction of the thread.
- Prepare the pattern: make all the pieces and have them on hand, so you can get the most out of the fabric.
- Keep it in place: Use pins or weights to secure the patterns to the fabric.
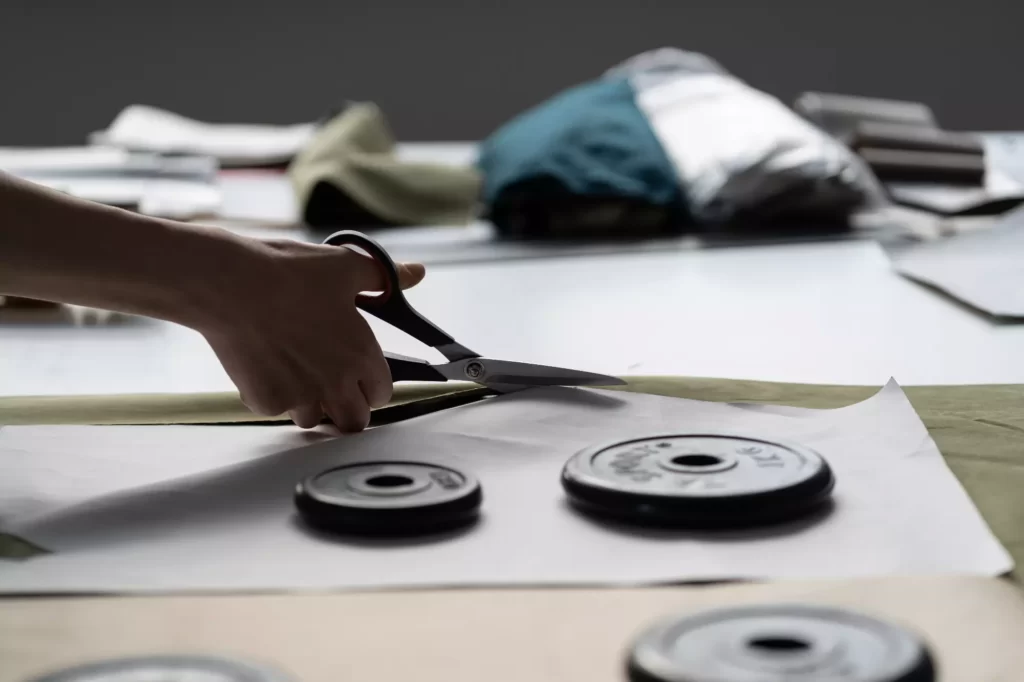
- Use good scissors: long blades and try to keep them sharp.
TOOLS FOR CUTTING FABRIC
- Fabric scissors: steel and 20 centimeters long.
- Fabric cutter: suitable for straight cuts or gradual curves.
- Pins and needles: used to attach the patterns to the fabric.
- Cutting table: 1.83 wide and 2.8 long.
- Iron: the appropriate temperature for the fabric to be used is verified.
- Onix paper: used to trace or transfer a mold to the fabric.
- Square: It is a measuring tool, which has a triangle shape in the middle. It is made up of 3 tools, one vertical, one horizontal and one diagonal
- Fabric marking wheelbarrow: it is used to mark, sew signs or transfer a mold to the fabric.
TIPS FOR CUTTING FABRIC
If you are a beginner and want to cut a fabric correctly, you must prioritize the above points. Like the points we will mention…Don’t be scared, you can do it!
Let’s start…
1.Cut the edge of the fabric
Some fabrics, depending on their composition, may have an irregular finish, which is uncomfortable when cutting. In some cases, the fabric usually has a clean finish and is not as necessary.
If the fabric has irregularities, it must be evened out. By joining the top to the bottom and cutting that edge, it allows for a clean, finished appearance, avoiding irregularities or mismatches in the fabric.
2.Align the fabric
After cutting the edges, it is important to stretch the fabric so that it returns to its original state. This also helps prevent the appearance of folds or wrinkles that can affect when cutting the fabric.
Depending on the type of fabric and if necessary, you can iron it to remove wrinkles or folds.
3.Slide the thread from each edge
When it comes to woven fabrics, it is important to pull the selvedge thread at least 3 cm, leaving it visible on each edge. This helps when sewing and cutting.
It is not recommended to do it on elastic, dense or velvet fabrics.
4.Measure
Using a tape measure or sewing square, trace the ends of the fabric from edge to edge. Making a kind of cross or grid that helps to have a complete measurement of the fabric.
These marks can be made with a fabric marker, chalk, or a fabric marking wheelbarrow. It is ideal for woven, stretch or jersey-like fabrics.
5.Cut
After you have the measurements, you must cut the edges or unnecessary spaces with scissors.
We recommend that the scissors used are only for cutting fabric. Since, when used for other things it loses its edge, leaving irregular lines on the cuts.
6.Patterns
If you don’t have much experience drawing on fabric or freehand cutting, you will definitely need a pattern that you can place on the fabric. You have two options, draw the border of the pattern on the fabric or cut directly onto the fabric along with the pattern.
Important: we recommend that you place pins nestled next to the fabric and the pattern, this will help prevent the fabric or the sheet from moving. Also, keep in mind that the patterns are not cut flush, at least 0.50 mm or 1 cm should be left for sewing.
HOW TO CUT PERFECT CIRCLES IN FABRIC
We are going to show you how to cut perfect circles in 2 ways:
1.Cut circle of fabric quickly
This way is ideal if you want to save time.
You will need:
- Measuring tape
- Wheelbarrow to mark (you can use chalk, a white pencil. Be careful not to permanently mark the fabric)
- Some pins
- Scissors
Steps to cut the circle:
1.First cut a square a little larger than the diameter of the circle you will need.
2.Fold in half and then fold in half again. You must have even folds of the fabric so that the circle does not come out with irregularities. To keep these folds from moving, secure them with some pins.
3.With the tool you are going to use to mark the fabric and your tape measure, as a marking guide use the tip where the four folds meet.
4.Measures half the diameter. With the tape along the entire edge and the point of the folds, mark the size you are going to give to the circle.
5.When you already mark the size of your circle. Taking the same reference point, mark as if you had a compass. (As we show you in the photos). The closer you make the marks, the easier it will be to mark the outline of the circle.
6.After you mark all the reference points for the circle, join them together with the fabric marking tool. Now connected the points, with the short scissors.
7.As we already have the fabric folded, it is easier. Once cut, remove the pins and open the fabric. And that’s it, you have your perfect circle!
2. CUT A CIRCLE OF FABRIC WITH A MOLD
If you are a beginner and are afraid to do the first way, this way will be easier and without any risk.
You will need:
- A sheet of paper (If the circle is larger, use a sheet of paper)
- A rule
- Pencil
- Measuring tape
- Scissors
Steps to cut the circle:
- With the sheet of paper or sheet, with the ruler and the pencil, measure and divide the horizontal and vertical half of the sheet, to achieve right angles.
- After you have marked the four parts, on the lines mark the size of the circle you are going to make. (Remember to measure from the middle point to the sides of the lines).
- When you have the lines marked, make many straight lines, always passing through the reference point, which is the center.
- After making all those lines, with each one of them from the center mark the size of the circle again, once the lines have been marked with the pencil, join them and then cut the marked circle.
- When you have the circle pattern, put it on top of the fabric and secure it with pins and you can easily make your perfect circle on the fabric.
Recommendations for some types of fabric
- When we refer to imitation fabrics they should not be cut with scissors, in these cases a cutter is used. You should also remember that they must be cut from the back, if you cut from the front of the fabric you run the risk of damaging the design of the fabric.
- Fabrics that are slippery when cutting can be complex, it is advisable to moisten them, in this process do not use a pencil or markers as it can stain.
- All fabrics have a way of being treated, so you should read the instructions for use, especially for washing or ironing.