Creating a pocket on the ground is a practical way to keep your pockets and needles organized, but it is also a fun and creative craft that you can do at home with materials you probably have. If you’ve ever asked yourself how to do an alfiletero step by step, you’re in the right place.
This tutorial will guide you through the process of creating a unique and personalized pin that will be both functional and decorative. Furthermore, we will give you ideas for customizing it and advice for beginners, based on the experience of making my first alfiletero. Get ready to bring your creativity to fruition and start this sewing project!
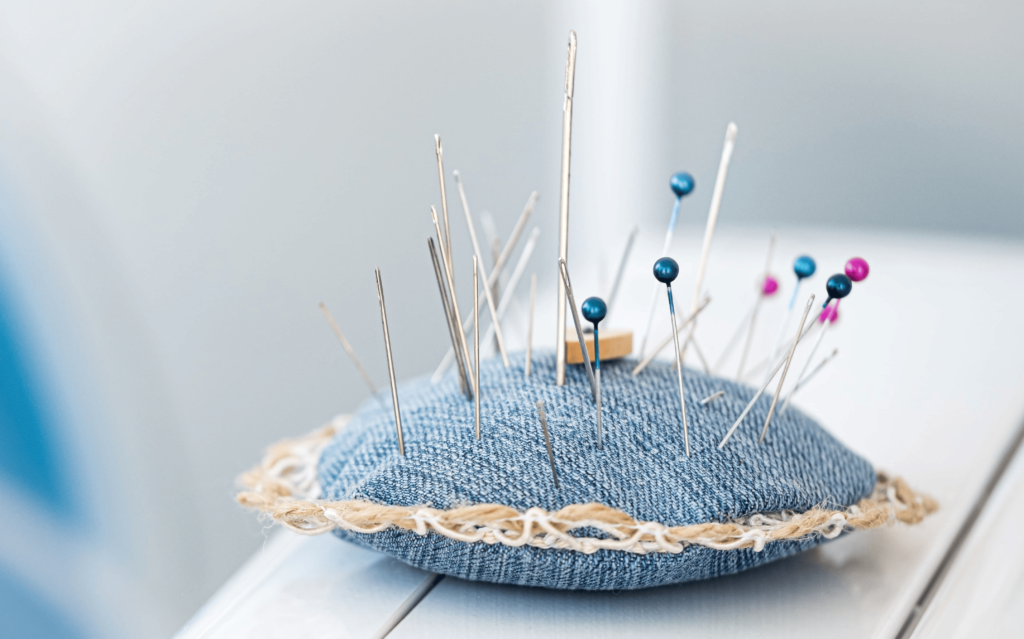
Necessary Materials to Make a Alfiletero
Before you start creating your DIY pincushion, it is important to gather all the necessary materials. The good news is that most of these elements are easy to find at home or in any craft store.
Basic Materials:
- Fabric: A small section of cotton canvas, using any other material you like. Make sure it is resistant and does not come apart easily.
- Refill: You can use cotton, cotton, or even scrap fabric cutouts to refill your bag.
- Thread and Needle: To sew the needle. Choose a hilo that matches the screen or contrasts for a decorative touch.
- Tijeras: Afilada tijeras to cut the screen and the hilos.
- Metric Belt or Ruler: To measure the screen and ensure that your pin has the appropriate size.
- Alfileres: To attach fabric parts to the seams.
- Optional Decorations: Buttons, straps, any adornment you want to add to personalize your pin.
Alternative Materials:
- Tuna Can: To create a rigid and reusable base for your pin.
- Plastic bottles: Another option to make the base of the pin, recyclable and easy to manage.
These basic materials are all you need to get started. Next, we will show you how to use them to create a simple and beautiful screen pin.
Steps to Create a DIY Screen Pin
Now that you have all the listed materials, it’s time to start creating your DIY canvas pin. This project is easy and perfect for sewing beginners. Here we guide you step by step:
1. Prepare the Screen
- Choose the Screen: Select a screen that you like and is easy to work with. If this is the first time you use a pincushion, choose cotton or a pincushion, which are easy to manage.
- Cut the Screen: Use the measuring tape to measure the circle squarely (approximately 15 cm in side or diameter). Cut out equal parts of the screen.
Tip: For an extra touch, you can use a printed canvas or vibrant colors that will make your pin unique.
2. Sew the Fabric Pieces
- Join the Pieces: Place the two pieces of canvas on top of each other, with their right sides facing. Attach with pins to keep them in place.
- Sew the edges: Sew around the edge of the canvas, leaving a small opening of about 3 cm so you can turn the canvas around and refill the pin.
- Go back to the screen: Turn the screen so that the right side is moving away.
Advice for beginners: If you are new to sewing, sew quickly and make sure you keep the edges straight. Don’t worry if it’s not perfect, practice is the maestro!
3. Refill the Alfiletero
- Añadir el Relleno: Relleno the pocket with guata, cotton or fabric cutouts until it is well filled and takes the shape you want.
- Close the Opening: Sew the opening you left for the oil, making sure it is very closed so that the oil doesn’t get salty.
Advice: Do not refill the pillow too much, as it can cause the screen to stretch or deform. A firm but flexible filling is ideal.
4. Decorate your Alfiletero
- Add Decorations: If you want, you can add buttons, straps or embroidery to personalize your pin. This is the time to be creative and make your pin reflect your personal style.
Advice: If you are making a pin with a can of tuna or plastic bottles, you can cover the base with canvas and decorate the edges to give it a polished finish.
Creative Variations: Customize your Alfiletero
One of the best things to do with your own pen is that you can customize it however you want. Here are some ideas to give a unique touch to your creation:
- Bracelet clipper: If you prefer to have the pins by hand while sewn, you can make a bracelet pin. Use a strip of fabric or an elastic bracelet as a base, and sew a small pin on top. It’s practical and will allow you to move freely.
- Canned tuna filet: Recycle a can of tuna to make a basket with a solid base. Simply cover the can with canvas and roll it out as you wish with any pin. This option is ideal for keeping the pin steady on your work table.
- Pin holder with plastic bottles: Cut a plastic bottle to create a recycled base and reassemble it with canvas and glue. This is an excellent ecological and creative option.
- Custom shapes and sizes: Don’t limit yourself to square or round pincushions. Try making heart-shaped pins, stars, or any other figure you like.
Tips for Beginners: What I Learned From My Primer Alfiletero
When I started my first alfiletero, I made some mistakes that taught me valuable lessons. Here I share with you some tips so that you experience a more senile and enjoyable experience:
- Don’t Worry About Perfection: At first, it’s easy to get frustrated if the shots aren’t perfect or if the screen doesn’t fall exactly as you planned. Remember that the learning process is the most important.
- Practice with Cheap Screens: Before using that precious screen you purchased, practice the most economical screens. This will help you perfect your skills without the fear of ruining your project.
- Use Alfilers: Holding the fabric parts with tacks before sewing is crucial, especially if you are a beginner. This will help you prevent the pieces from slipping and maintain an even edge.
- Start with Simple Projects: Start with a simple pencil before venturing into more complicated designs. As you gain confidence, you can try more complex and personalized pin tutorials.
- View Tutorials: If you’re stuck or need inspiration, don’t hesitate to watch DIY pincushion tutorials on YouTube or craft blogs. There are a large number of resources available to guide you step by step.
Here I leave you with tutorials that can serve as inspiration:
Making your own needlework is a rewarding experience that on the ground will provide you with a useful tool for your sewing projects, which will also allow you to express your creativity and learn new skills. With simple materials and a little time, you can create a pin that is both functional and beautiful.
Whether you opt for a classic screen design, a bracelet pin, or a recycled version with a tuna can, the possibilities are endless. Enjoy trying it out and enjoy the creation process!