The art of macrame, a hand-weaving technique that uses knots to create beautiful designs, has gained popularity in the creation of fashion accessories such as bracelets. With a little practice and creativity, you can design your own unique and personalized macrame bracelets. Follow these easy steps to create your own macrame masterpieces!
If you did not know…
Macrame bracelets have a fascinating history dating back centuries. Macramé, itself, is a hand weaving technique that originated in the Middle East during the 13th century. However, its popularity grew significantly during the Renaissance in Europe, where it became a highly prized art form.
Originally, macramé was used to create decorations on curtains, wall hangings and clothing. However, over time, this technique was adapted to create a wide variety of objects, including bracelets.
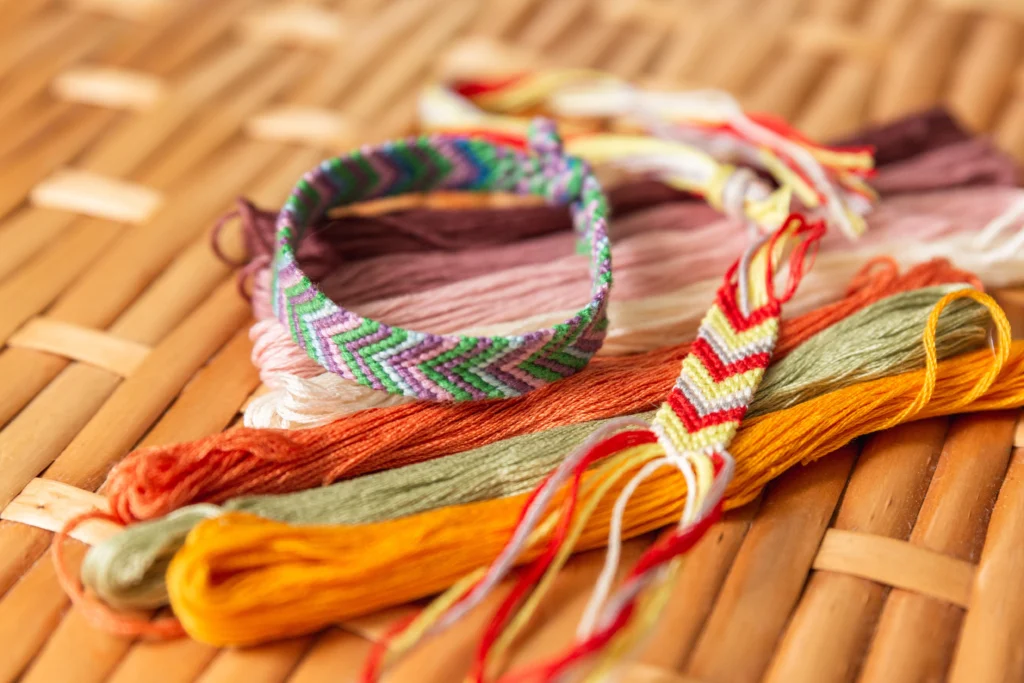
Materials to make a macrame bracelet
- Macrame cord or thread (you can find it at craft stores in a variety of colors and thicknesses).
- Scissors.
- Macrame board or an object to hold the ends of the cord while you work (you can use a clamp board or simply tape the ends to a flat surface).
Don’t run out of the necessary materials to bring your macramé creations to life! In case you are missing an item to start your bracelet project, don’t worry!
Here you can find everything you need quickly and easily. From various colors of macramé cord to specialized tools, everything you need to let your creativity fly and make your designs come true.
No se han encontrado productos.
No se han encontrado productos.
Place your order now and start weaving your dream bracelets in a matter of days!
How to make Macrame bracelets Step by Step
Step 1: Bead Preparation
Cut four pieces of cord, each about 45cm long. These will be the main threads of your bracelet.
Next, cut a fifth piece of cord, a little longer, about 60 cm. This will be your working thread.

Step 2: Initial assembly
Fold the four main strands in half and place them on the macrame board or pin them firmly in place.
Take the working thread and fold it in half. Place it under the four main threads, leaving a loop at the top.
Step 3: Basic Knots
Begin tying overhand knots over the four main strands using the working thread. To tie a basic knot, pass the right end of the working thread over the main threads and then under them.
Then, pass the left end of the working thread under the main threads and through the loop created by the right end. She tugs gently to tighten the knot.
Repeat this process to tie several basic knots, forming a row of knots along the four main strands.

Step 4: Design Creation
Once you have completed a row of basic knots, you can begin creating the desired design. Experiment with different knot combinations to create interesting patterns.
Some popular knots to experiment with include the square knot, the spiral knot, and the herringbone knot.

Step 5: Fit and finish
Continue weaving and adjusting your design until it reaches the desired length for your bracelet.
When you’re done, secure the ends of the threads by cutting off any excess and tying an overhand knot to keep everything in place.
To close the bracelet, you can tie the ends in a slipknot or add a jewelry clasp, such as a clasp or lobster clasp.
And there you have it! With these simple steps, you can create your own personalized macrame bracelets. Let your creativity fly and design beautiful pieces to show off or give to your loved ones!
Recommended for you – Macrame bracelets tutorials
https://youtu.be/f9H3UQyX3qA?si=I-GzKnG7hth0TXYUhttps://youtu.be/3okJR9E5Cnc?si=Fx7oUhmrV8mWaQKXhttps://youtu.be/R8_O3EWiWvE?si=bPUn2AU7bd-Oaf6j
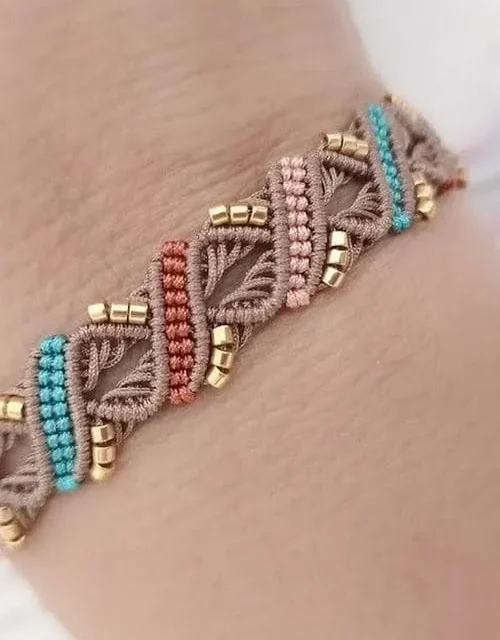
Discover the art of macramé!
Immerse yourself in a world of creativity from simple and elegant designs to intricate patterns, you have everything you need to bring your ideas to life!
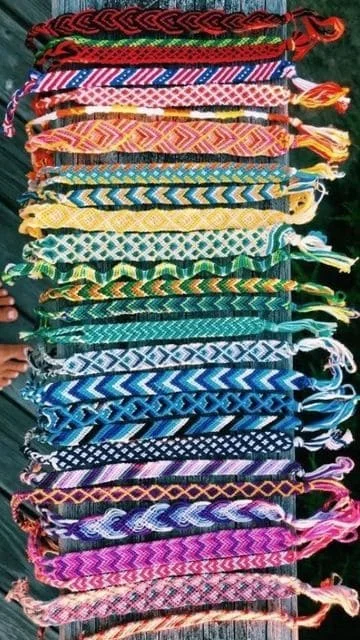
Do you prefer to wear a macramé bracelet without having to create it yourself? No problem! Find a wide selection of ready-to-wear macrame bracelets. From classic designs to modern and colorful options Place your order now and add a touch of unique style to your look in just a few clicks!
No se han encontrado productos.
No se han encontrado productos.
No se han encontrado productos.
See more on Amazon
10 Macramé Bracelet Ideas for Beginners: Easy and Fun to Make!


Recommendations for you